How to Read a Pump Curve: A Practical Guide for Homeowners
A pump curve answers a more useful question than the label’s maximum GPM: how much flow will this model deliver at the head my system creates? The curve is only meaningful when the liquid, speed, impeller, voltage, and model match the installation.
What you need for this job
- the exact pump curve
- required flow
- vertical elevation
- pipe and fitting information
- endpoint pressure if applicable
- voltage and speed details
Before touching the pump
Turn off and verify the relevant power, isolate water or pressure, and identify any automatic switch, controller, alarm, or timer that could start the pump. Keep sewage, septic tanks, wet electrical connections, pressure vessels, and confined spaces outside casual DIY work.
Details that decide whether the job will work
Confirm the category
Make sure the pump, liquid, source, and endpoint match the job before following a generic procedure.
Use the actual hydraulic path
Lift, pipe, fittings, valves, filters, and controls determine the result.
Keep service access
Leave the pump, switch, connections, and cleanout reachable for inspection.
Test under normal demand
A motor that starts at no load does not prove useful delivery.
Record what worked
Save the model, settings, route, and normal observations for future maintenance.
Step-by-step procedure
Identify the exact curve
Confirm model, impeller trim, speed, phase, frequency, and any control setting. Nearby models can have different curves.
Find required flow
Determine fixture, irrigation, pool, pond, condensate, or transfer demand. If the system operates at several flows, mark the normal and peak points.
Calculate total head
Add static elevation, pressure head, and friction. Use 2.31 feet of water head per PSI for water, then add pipe, valve, filter, and fitting losses.
Read the intersection
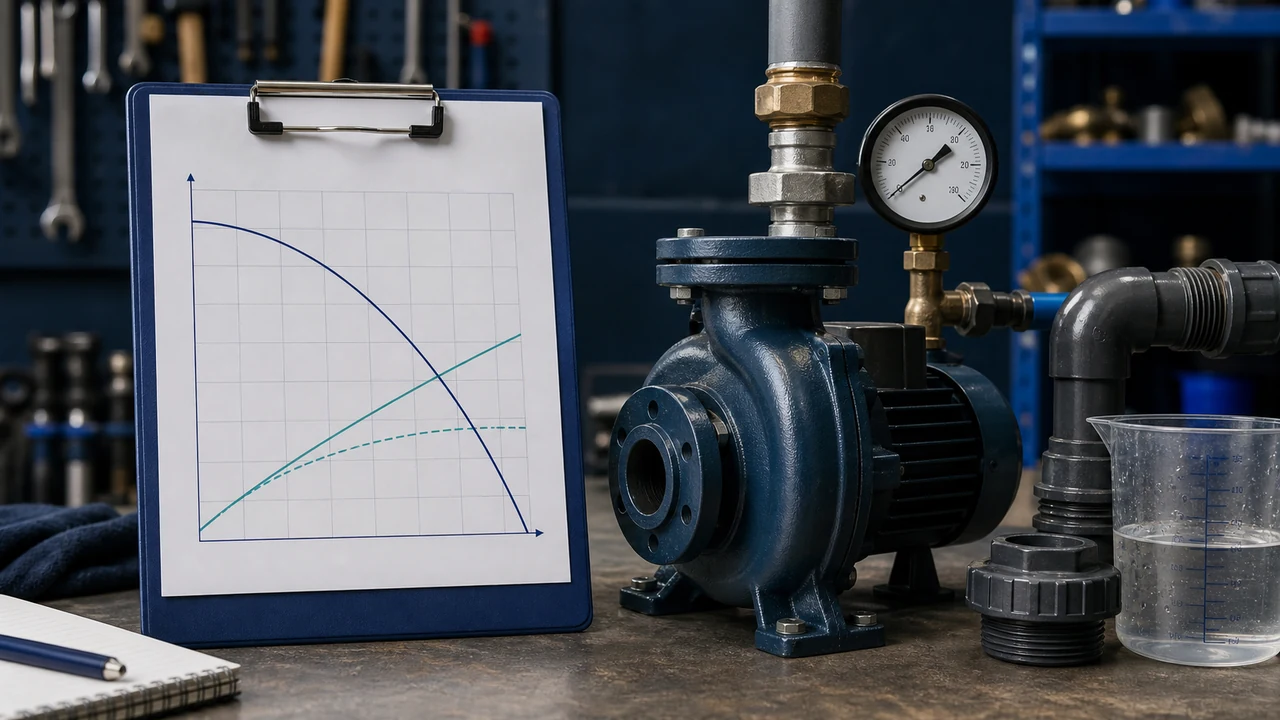
Move from the required flow to the system head and read where it intersects the pump curve. That is the approximate operating point, not the zero-flow or zero-head endpoint.
Check limits
Confirm NPSH or suction requirements, solids, temperature, voltage, duty, minimum flow, and maximum pressure. A curve cannot override a classification or installation limit.
Compare alternatives fairly
Place different curves on the same flow and head axes. Compare efficiency or power at the operating point where the data exists, not only the largest number.
The measurements to gather before starting
Write down the source level, endpoint, required flow, vertical rise, pipe or hose size, length, fittings, valves, filters, and any pressure that must remain at the outlet. This record prevents a pump procedure from being judged against a different installation than the one that will actually run.
Separate static conditions from operating conditions
A closed gauge, empty hose, or still water level is only a starting observation. Flow creates friction, a well level can fall while pumping, a filter can load with debris, and a pressure system can lose inlet pressure as demand opens. Use measurements taken under the condition the pump must handle.
Use the correct model information
Nearby versions can use different impellers, speeds, voltage, controls, or connection sizes. Match the model number and curve to the pump in front of you. A generic curve or a product-page maximum may not describe the installed configuration.
Know when a number is an endpoint
Maximum flow is usually shown near zero head, while shutoff head is shown near zero flow. Neither is the normal operating point. The useful result is the flow where the system head and the correct pump curve intersect.
Check the result against the system
After the calculation or priming step, verify that the source remains adequate, the pump stays inside its temperature and duty limits, and the outlet carries the expected flow. If the pump only works with a valve in an unusual position or a control bypassed, the job is not complete.
The follow-up checks that protect the repair
The motor runs but output is poor
Check source level, inlet restriction, prime, pipe or hose size, vertical rise, filters, valves, and the endpoint. Compare the actual route with the model curve before replacing the pump.
The pump starts and stops unexpectedly
A float, pressure switch, controller, timer, thermal protector, low-water sensor, or leak may be controlling the cycle. Record the timing and condition instead of bypassing protection.
The pump becomes hot or noisy
Dry running, air, cavitation, debris, vibration, overload, and worn parts can overlap in sound. Stop the test if heat or severe noise appears and use the exact manual for service limits.
The first repair does not hold
A recurring symptom often lives in the source, pipe, controls, liquid, or duty rather than the replaced component. Save the before-and-after observations and have the complete system reviewed.
How to verify the result
A usable selection has an identified flow and head point on the correct curve, plus a record of voltage, liquid, controls, and system limits. If you cannot identify those inputs, the comparison is incomplete.
If the procedure does not work
Stop rather than repeating the same start-up cycle. Recheck the model, source, valve positions, pipe or tubing, control signal, and actual head. If the next check involves live wiring, a sealed system, sewage, a well, or a buried line, arrange qualified service.
Common mistakes after the main job is finished
- Leaving a temporary hose, bypass, jumper, or extension cord in a permanent installation.
- Closing a valve or filter path that the pump needs for cooling or flow.
- Hiding the float, alarm, controller, cleanout, or service connection behind a finished surface.
- Testing only at zero demand instead of under the flow or pressure the system must deliver.
- Changing a switch, fuse, pressure setting, or controller parameter without checking the exact manual.
- Forgetting to inspect for leaks, backflow, air, vibration, heat, or abnormal cycling after shutdown.
Keep the repair from becoming the next failure
Leave the pump, switch, valve, cleanout, and connection points accessible. Record the normal pressure, flow, water level, runtime, or cycle behavior so a future change can be recognized early.
A useful handoff record
| Record | Why it helps |
|---|---|
| Exact model and settings | Prevents a future replacement or adjustment from being based on a similar-looking unit |
| Normal operating point | Provides a reference for pressure, flow, water level, or runtime |
| Connection and valve arrangement | Shows how the source, pump, controls, and endpoint are meant to work together |
| Date and service performed | Makes recurring faults and maintenance intervals easier to identify |
Frequently Asked Questions
What is shutoff head?
It is the approximate head at zero flow. It shows the pump’s pressure limit, not the flow you will receive in service.
Is maximum GPM the working flow?
No. Maximum GPM is usually measured near zero head. Read the curve at the total head of the installation.
How do I add pressure to head?
For water, multiply PSI by about 2.31 to obtain feet of head. Then add elevation and friction losses.
What if the curve has several lines?
The lines may represent different models, speeds, impellers, or voltage conditions. Use the legend and exact model number rather than choosing the highest line.
Can a curve replace field measurement?
It predicts performance under stated conditions, but field restrictions, wear, water level, and measurement error can change the result. Use it with a sound system calculation.
Bottom line: The procedure is complete only when the pump performs a normal, controlled cycle and the surrounding system remains safe. Use the exact manual for details that this general guide cannot establish.