Marine Water Pump Not Working: A Practical Guide for Homeowners
A pump problem is easier to solve when the symptom is described precisely. The motor may have no power, the intake may be blocked, or the pump may be moving water against more head than the installation allows. Start with the water path and keep electrical work within a safe boundary.
The direct answer
For this marine water pump not working issue, observe the source, pump, pipe, and outlet as one system. A maximum flow label is only a first screen; the delivered flow changes with lift, friction, water level, and fittings.
A closer diagnostic reading
Identify the water circuit
A marine pump may serve freshwater pressure, bilge drainage, washdown, livewell, engine cooling, or another circuit. The symptom and liquid determine the safe checks. Do not assume a pump with a similar connector can substitute across circuits.
Check the source and seacock condition
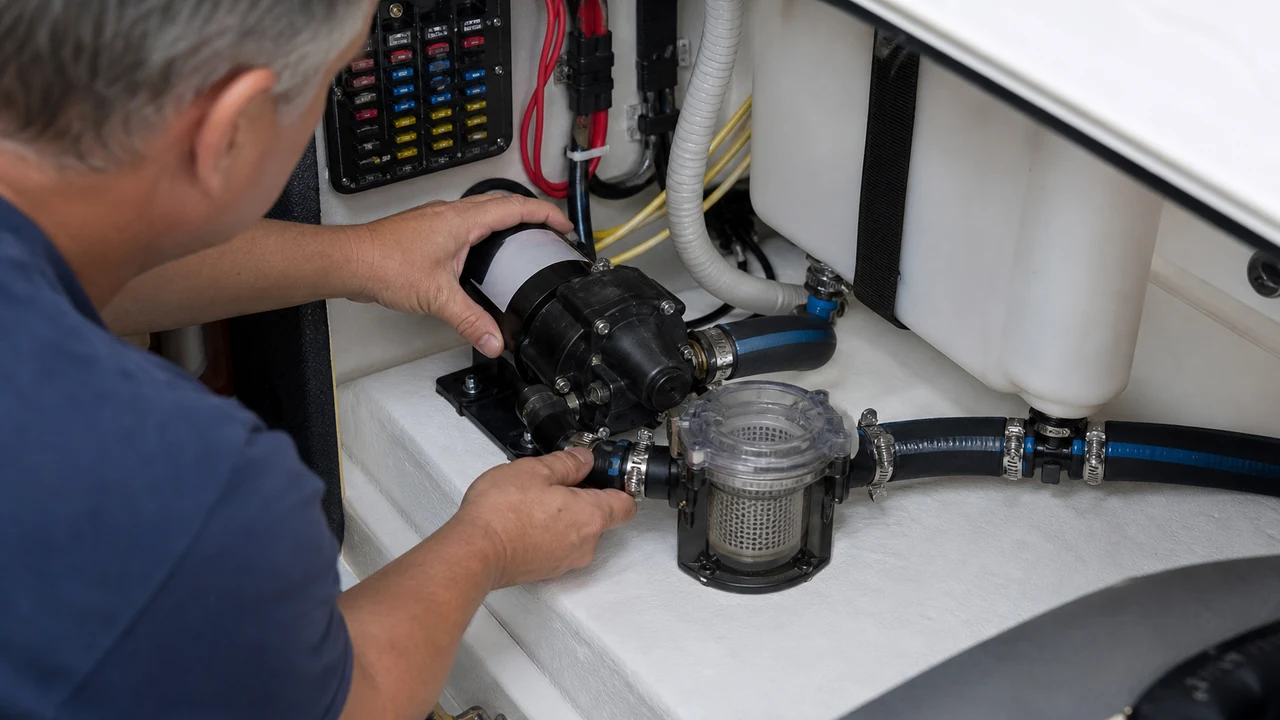
A closed seacock, blocked strainer, air leak, low tank, or fouled intake can stop delivery while the motor still runs. Keep the vessel stable and follow the boat and pump manufacturer’s procedures before touching an inlet below the waterline.
Treat 12V power as a real fault path
Corrosion, loose grounds, undersized conductors, and a weak battery can cause a pump to slow or cycle. Do not bypass fuses or test wet connections casually. Isolate power before cleaning terminals or opening a serviceable cover.
Watch for flooding consequences
A bilge or cooling-water fault can become urgent quickly. If water is rising, use the vessel’s approved emergency procedure and do not trade safety for a detailed diagnosis. A freshwater pressure-pump issue can wait longer than an uncontrolled ingress problem.
Log the normal sound and flow
Record the pump’s normal current, pressure, discharge, and cycling when the boat is safe and dry. A change after storage or salt exposure can point to corrosion, scale, a blocked strainer, or a damaged impeller.
Read the symptom before touching the pump
| What you observe | What it often suggests | First useful check |
|---|---|---|
| Silent motor | Power or control problem | Check the accessible power source safely. |
| Running motor, no flow | Blocked inlet, air, prime, or excessive head | Inspect the source and water path. |
| Flow is intermittent | Low water, vortex, air, or switch cycling | Watch water level and inlet. |
| Noise or heat | Debris, vibration, cavitation, or overload | Isolate power before inspection. |
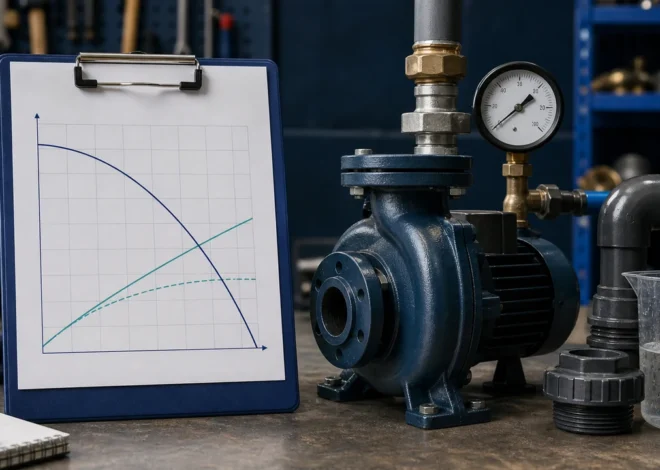
Do not treat every symptom as proof of a failed motor. A pump curve describes what the pump can do at a particular head, while the switch, source, pipe, filter, and discharge determine whether that operating point is reached.
Likely causes and what separates them
The intake is blocked
Debris and algae reduce inlet area and can damage an impeller. Clean only the parts the manual identifies as serviceable.
The installation has too much resistance
Lift, pipe length, small tubing, valves, and outlets reduce flow. Use actual head rather than the zero-head maximum.
The source level is unstable
A shallow source can expose the intake, create a vortex, or admit air. The pump may restart when water returns and appear intermittent.
The pump or control is damaged
A jammed impeller, failed switch, thermal overload, or motor fault needs isolation and model-specific service.
A safe diagnostic sequence
- Turn off power before touching the pump or wet connections.
- Check source level, intake, filter, tubing, and outlet for a visible restriction.
- Measure vertical lift and record pipe or hose size and length.
- Clean accessible service parts and reassemble exactly as directed.
- Test briefly with adequate water and watch for normal flow, sound, and temperature.
- Arrange qualified service if power, sealed motor parts, or structural damage is involved.
When to stop and call for help
Stop for wet electrical connections, confined spaces, contaminated water, or any repair requiring energized testing.
Prevent the same fault from returning
Keep the intake protected and accessible, test before the season, and match the pump curve to the installed head.
What to record for the next service visit
| Observation | Useful detail |
|---|---|
| Power and controls | Breaker, fuse, controller light, switch, alarm, and whether the motor starts |
| Water behavior | Source level, inlet condition, discharge flow, return water, and time to clear |
| Hydraulic conditions | Vertical lift, pipe or hose size, filter state, valve position, and any recent changes |
| Operating pattern | Continuous run, short cycling, intermittent output, heat, noise, or vibration |
Verify the repair under a normal load
A pump is not repaired merely because the motor starts. Run the controlled test appropriate to the installation and confirm that the source remains adequate, the outlet carries water, the switch reaches its normal stop point, and no leak, alarm, overheating, or unsafe pressure appears. Do not create a larger load simply to prove capacity.
Three patterns that deserve a second look
The circuit is not yet identified
A marine water pump may serve the bilge, freshwater, washdown, livewell, or engine cooling. Identify the hose route and consequence of failure before testing. A pump that is safe to inspect in a freshwater system may not be safe to disturb below the waterline.
The motor runs but water is absent
Check the tank, strainer, seacock, hose, and intake condition as the vessel manual allows. Salt, scale, air, and a closed valve can restrict flow. Keep the bilge and engine-cooling risks separate from a routine pressure-pump diagnosis.
The 12V pump is intermittent
Corrosion, a weak battery, undersized wiring, poor ground, pressure switch, or thermal protection can interrupt operation. Do not bypass the fuse or work on wet wiring. If water ingress is increasing, use the vessel’s emergency procedure first.
A deeper read of the symptom
Check the system around the motor
Record the source, liquid, inlet condition, controls, outlet, lift, and actual symptom before changing a part. A blocked path, low source, air leak, or control fault can mimic a pump failure.
Use the operating condition that matters
Observe the pump while it faces the flow, pressure, head, and duty that caused the complaint. A free-flow test or a short start with no load cannot prove that the installed system is healthy.
Replace only after the evidence points there
The pump should be the last major assumption, not the first purchase. Compare the exact model limits, liquid, voltage, controls, curve, and service condition before ordering a replacement.
Keep a service record
Save the model, settings, measurements, symptoms, repair, and normal result. A clear baseline makes a repeated fault easier to identify and reduces unsafe trial-and-error work.
Category-specific checks
Compare the symptom with the installation
A motor, impeller, switch, controller, source, pipe, filter, and outlet can each be the first failed point. Use the liquid, head, flow, and duty to narrow the diagnosis instead of treating the pump label as the answer.
Look for a change rather than a single reading
Pressure, flow, water level, runtime, noise, and temperature become more useful when compared with the system’s normal baseline. A single maximum or minimum value rarely identifies the fault by itself.
Make the next repair reversible
Use approved cleaning, fittings, replacement parts, and settings. Avoid cutting a line, bypassing a safety device, or changing a fuse until the exact manual and installation requirements support that action.
End with a normal operating record
Save the successful flow, pressure, level, cycle, and maintenance result. That record makes a recurrence easier to recognize and reduces unnecessary replacement of a pump that is still serviceable.
Keep the next diagnosis simple
Save the model number, manual, normal pressure or water level, typical runtime, and any replacement part information. A short record made when the system is healthy often prevents a future technician from having to guess whether a changed sound or cycle is new.
Frequently Asked Questions
Can a bigger pump solve weak flow?
Only when the system, pipe, outlet, and source can safely accept the added flow. It will not fix a blocked intake or excessive friction caused by undersized tubing.
Why does the pump make noise?
Air, debris, vibration, cavitation, and a worn impeller can sound similar. Pair the sound with water level and flow observations.
Should I run it without water to test it?
No unless the manual explicitly allows that test. Many pumps depend on water for cooling or lubrication.
How often should I inspect the pump?
Inspect at the start of the season and whenever flow or sound changes. Debris load and water quality determine whether more frequent cleaning is needed.
When is service required?
Use qualified service for electrical faults, sealed motor repairs, contaminated water, or a pump that repeatedly overheats or trips protection.
Bottom line: Use a short, controlled observation to find the failed part of the water path. The right repair follows from source, intake, head, and power evidence.